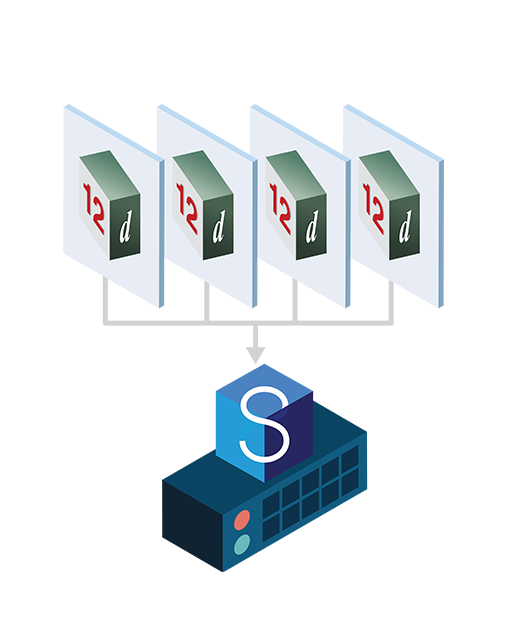
This is the first article in our three-part series that will help you manage your data smarter with 12d Synergy. Join Tim Brooks – a civil designer with 21 years’ experience – as he walks you through easy-to-follow videos on the basics of data management with 12d Synergy.
New to 12d Synergy? Check out our complete training series teaching you everything from The Fundamentals to Mastering Searching in 12d Synergy.
After completing this article, you can fast-track your data management by utilising 12d Synergy’s Managed Folders. This article will give you an overview of what in the world Managed Folders are, and how they can help you bring peace of mind to your data management.
Controlling Your Data without Managed Folders
Have you ever tried to manage geospatial data with generic shared folders? These are ideal for sharing images and Word documents, but for sharing geospatial data, they’re like sculpting with a sledgehammer – they’re the wrong tool for the job.
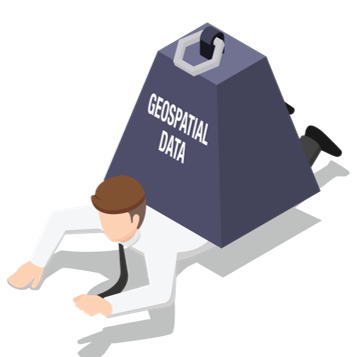
A consumer-grade cloud folder (Dropbox, Google Drive etc.) can’t handle the complexities, let alone the ever-expanding size of geospatial data at the foundation of your project. It places your data at risk of being corrupted and unable to be resurrected.
What Is a Managed Folder?
Managed Folders is a feature unique to 12d Synergy. It’s the ideal way to manage your geospatial data: treating whole folders of files as a single entity – it understands your data, and how you work.
The power of the Managed Folder is the speed in which it both runs and filters data – only transferring the files that have been changed and not the full project.
 Managed Folders don’t allow users to check out files individually, you must work with the whole folder checked out at one time. It’s like having a personal bouncer for your folder, checking ID’s once at a time and taking note of everyone who has checked in and out.
Demonstrating the impact of a Managed Folder, NorthConnex (Australia’s longest and deepest tunnelled motorway) recorded: 80% data reduction and a 6.5x faster data transfer time (from 13 minutes to 2 minutes) after utilising the 12d Synergy feature.
How to Create a Managed Folder
To create a Managed Folder (and book your ticket to smarter data) simply click Create Folder in the 12d Synergy ribbon bar and tick the Managed Folder option.
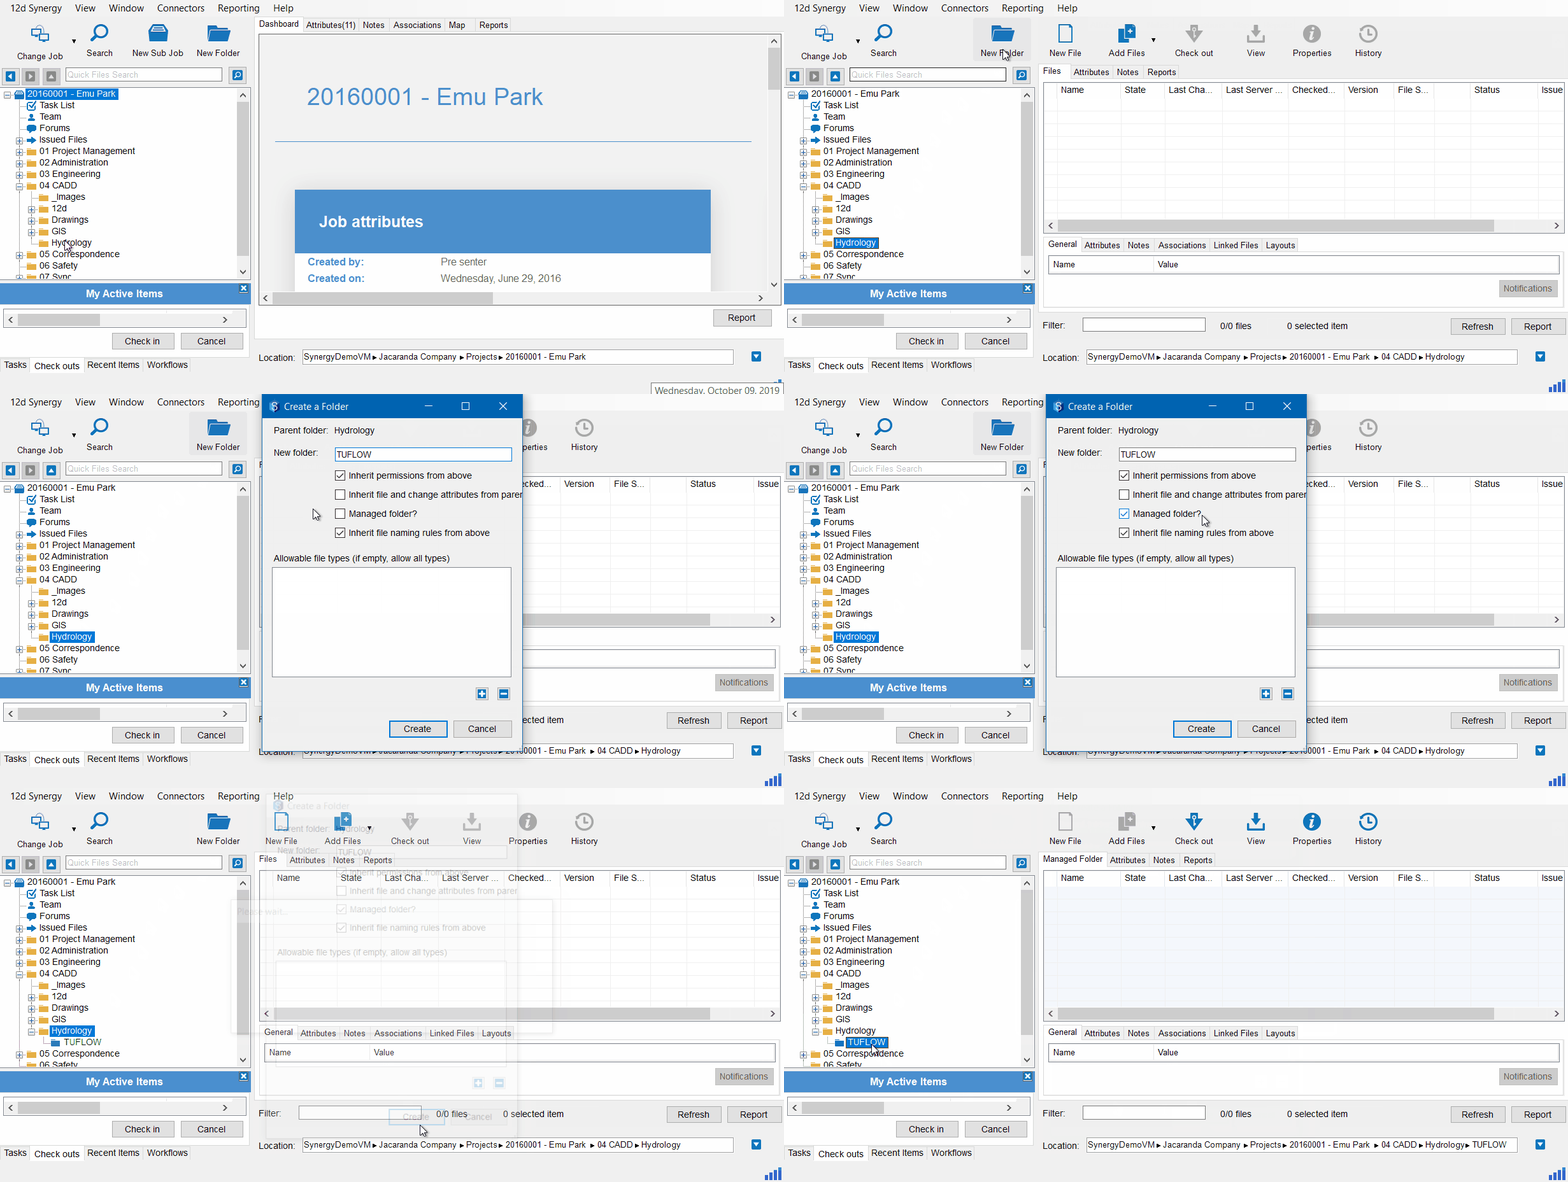
In your job tree, your Managed Folder will be displayed with a blue folder icon and green text. When working on files within Managed Folders, you don’t individually check out the files (as you do with a standard folder). Instead, you select the folder and check the whole folder out.
Once checked out, your Managed Folder will be displayed with red text.

To see the contents of the folder, either view within 12d Synergy by expanding the folder, or right click and select Explore to open it in Windows Explorer. Within Windows Explorer, you can add, edit and delete files and then check it back in.
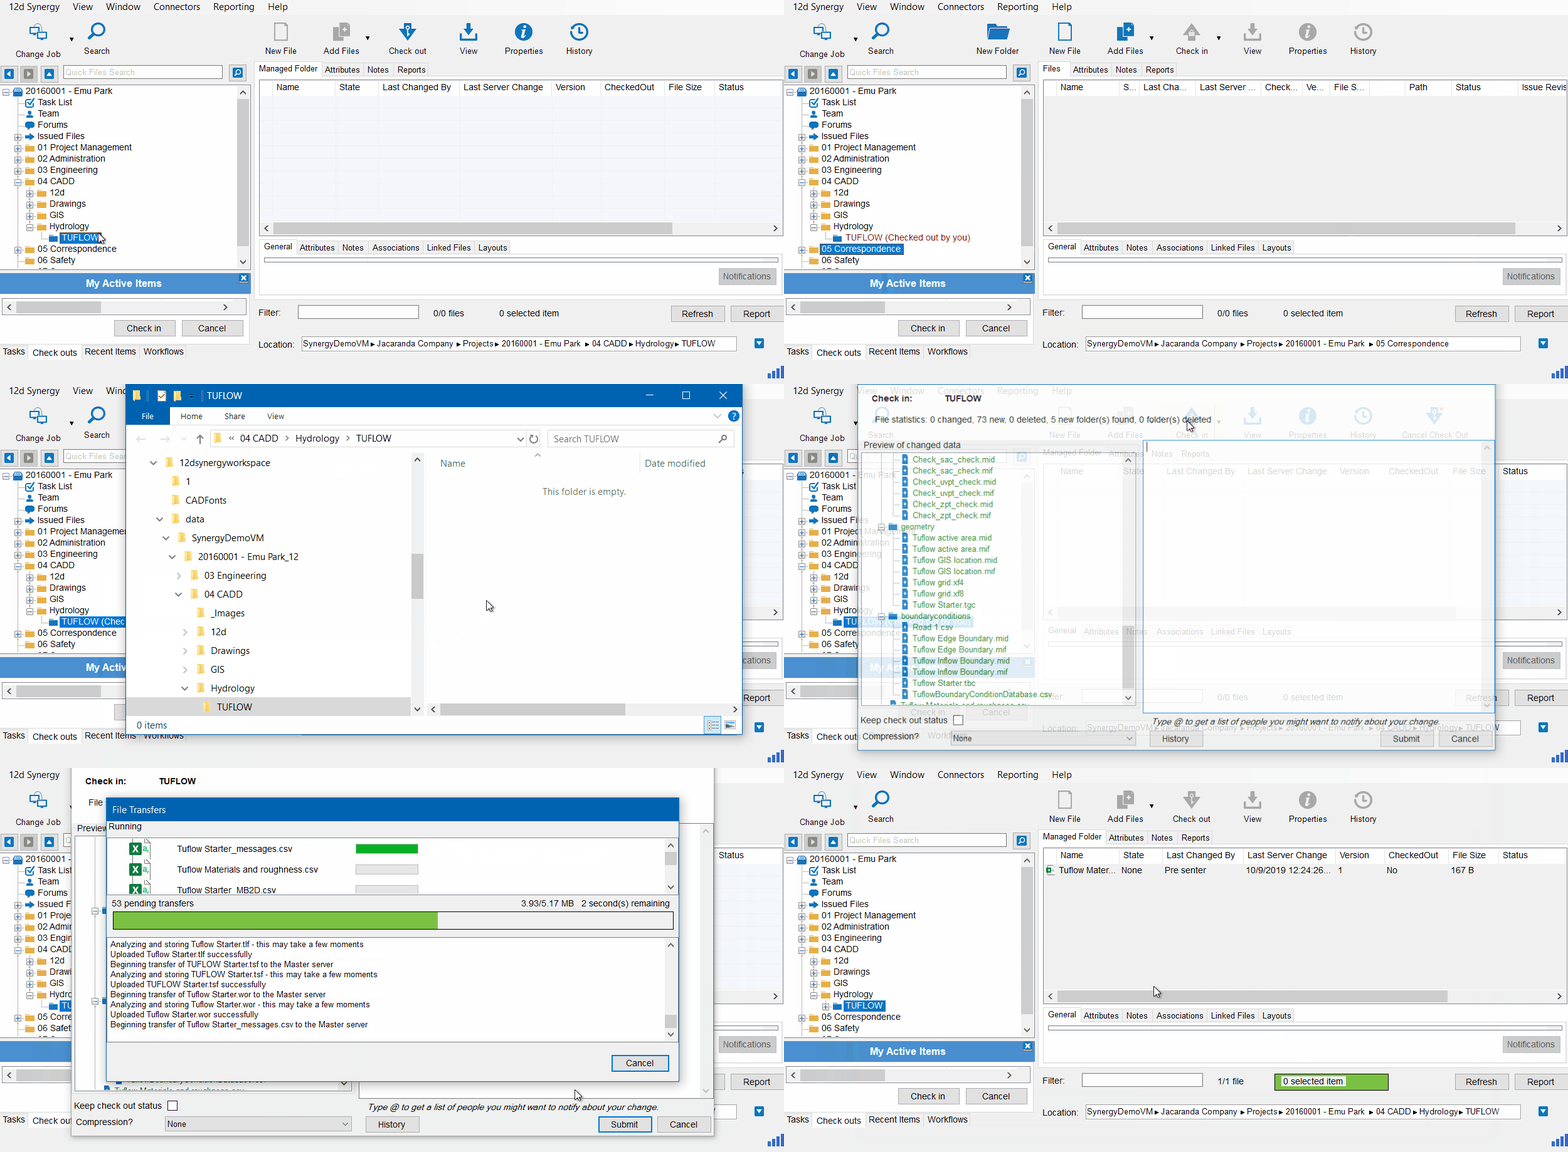
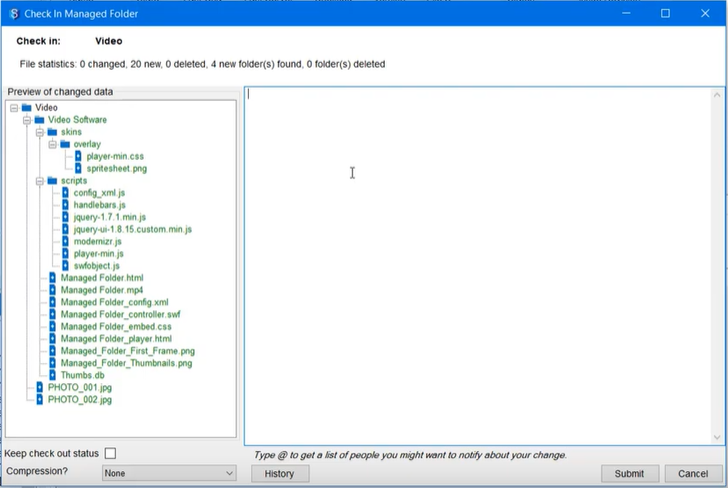
Once you’ve made your edits, select your Managed Folder in 12d Synergy and then press Check In. You can also right click the folder and select Check In.
When you check it back in, a panel will open displaying the files added, edited and deleted indicated by different colours (Green Files – added, Red Files – deleted, Orange Files – Changed).
One small step for man, one giant leap for your data. You can now set up a Managed Folder in your 12d Synergy job. Nice!
12d Synergy: Step up to Superior Data Management.
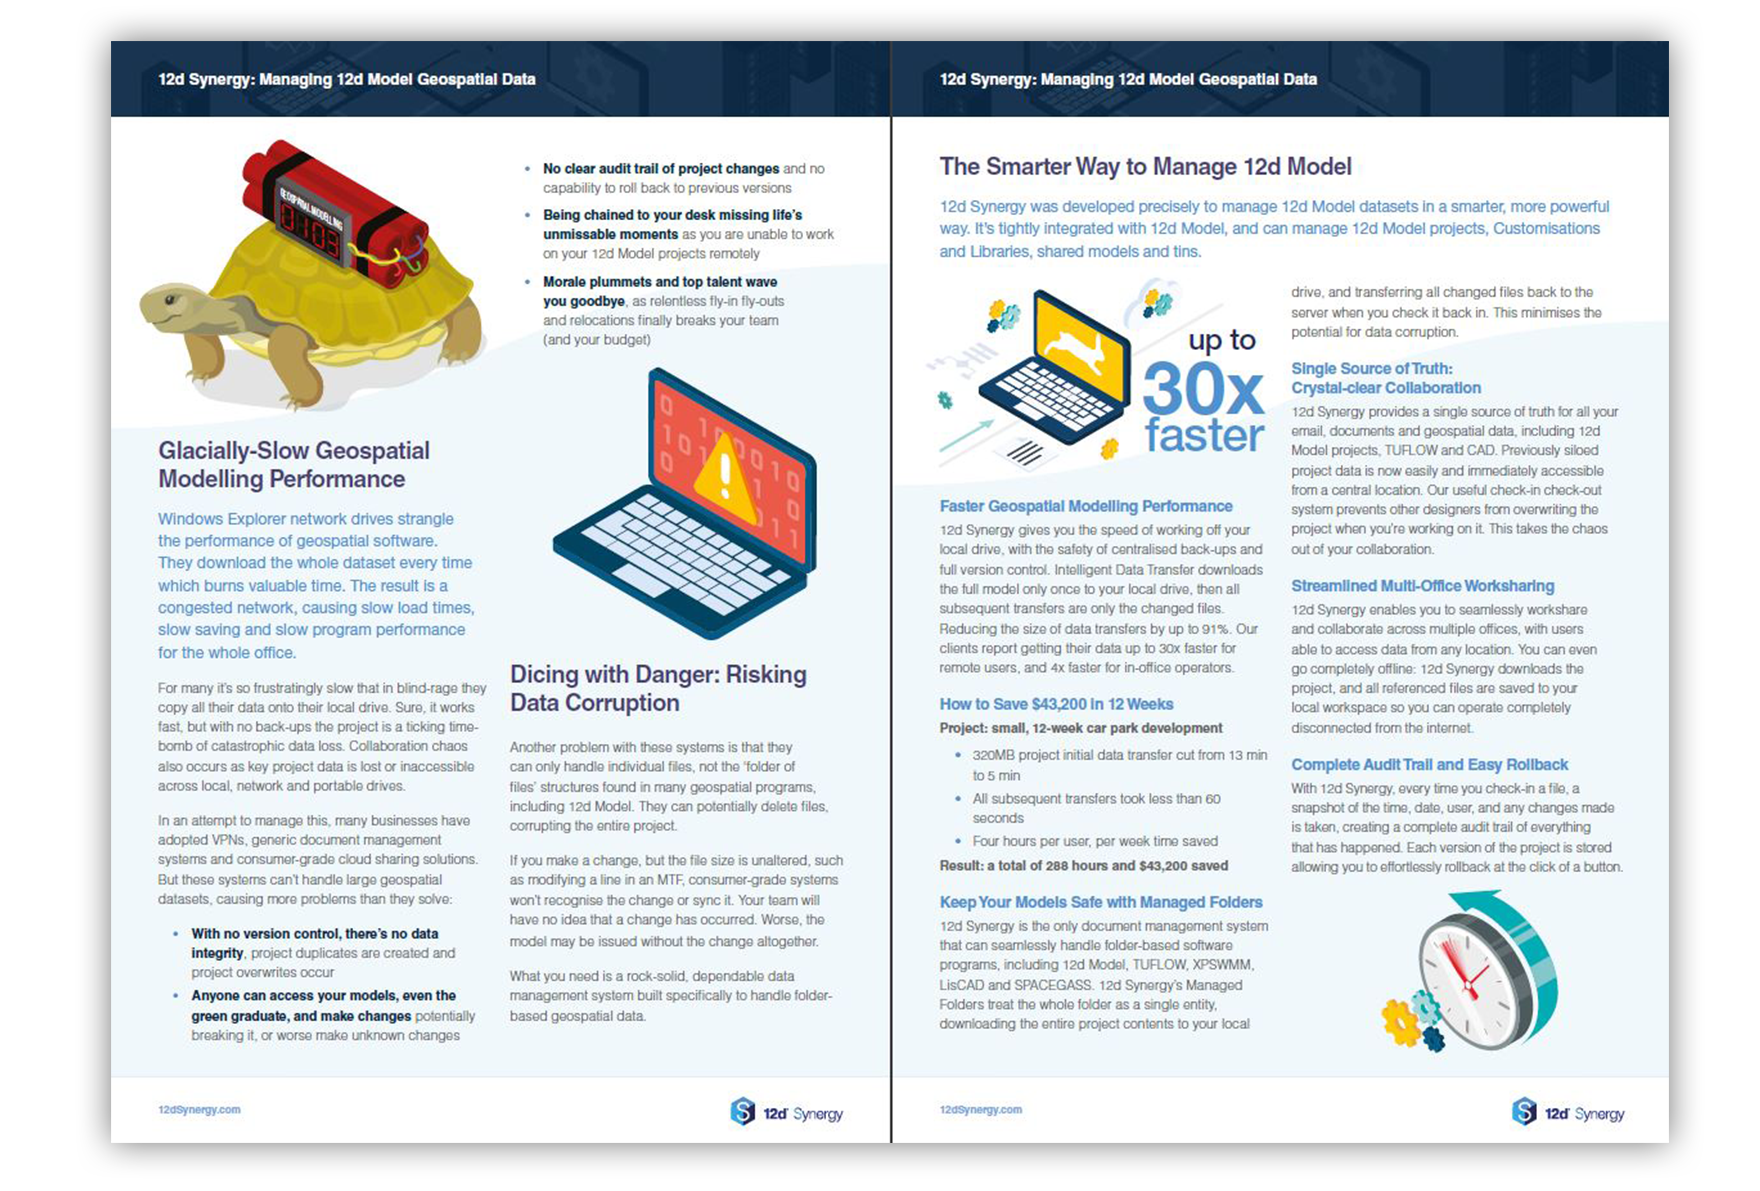
Find out more about streamlined 12d Model data management in our free eBook
Download Free eBook: Managing 12d Model Data

Author
